Quickstart Guide - Android
This guide will quickly get you through the setup phase of android apps and integrations with the EduFor suite.
This guide will make use of the F-Droid app store on Android, and the apps FairEmail, Nextcloud Syncronisation Client, and DAVx^5 from the F-Droid store.
Your experience using other apps and sources for these apps might differ.
Email
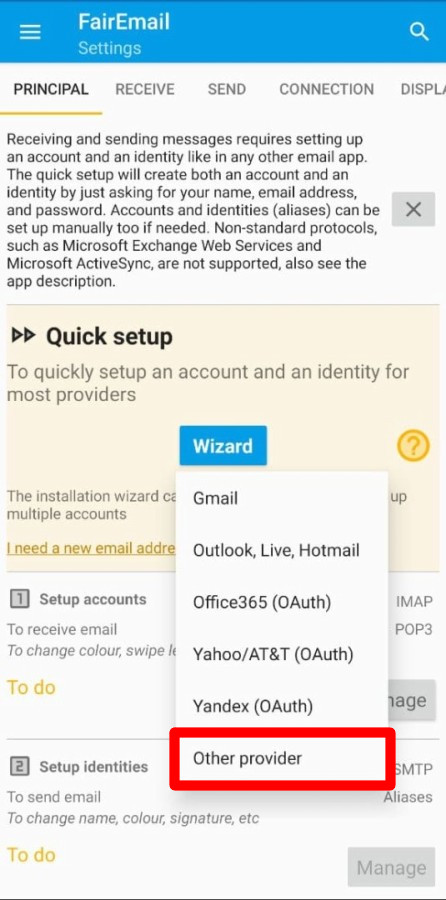
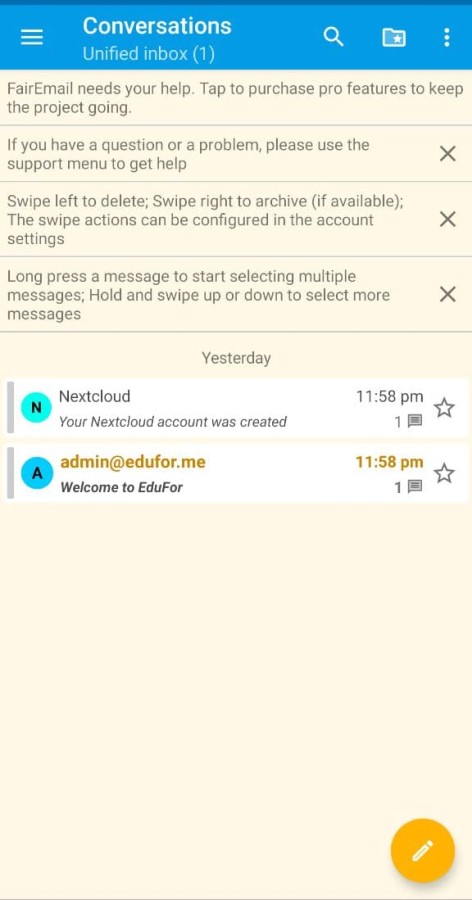
- Open FairEmail. You will see the setup wizard when you open it for the first time. Choose “Other provider”.
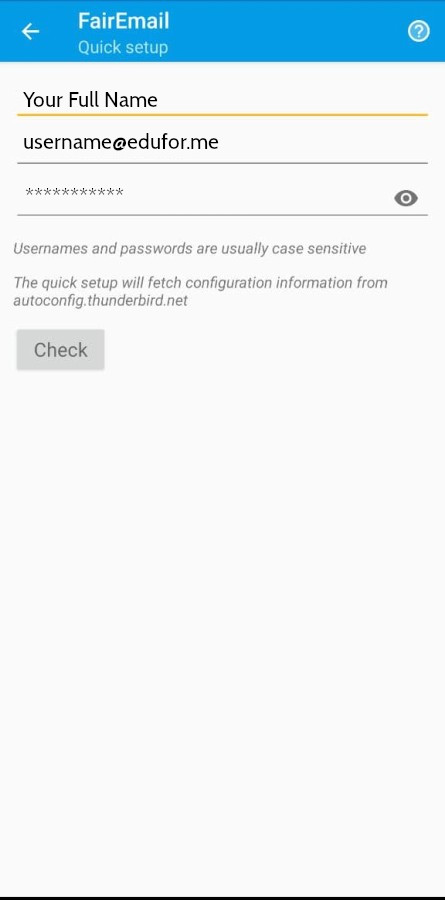
- Enter your name, your email address, and your password in the resulting screen.
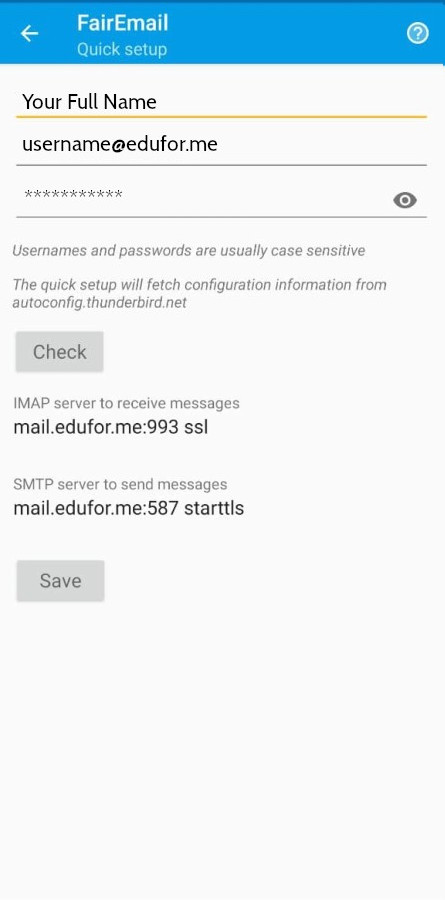
- EduFor supports email autoconfiguration for Thunderbird compatible clients, so the server details will be auto filled, and will look like this
- You will see a confirmation screen
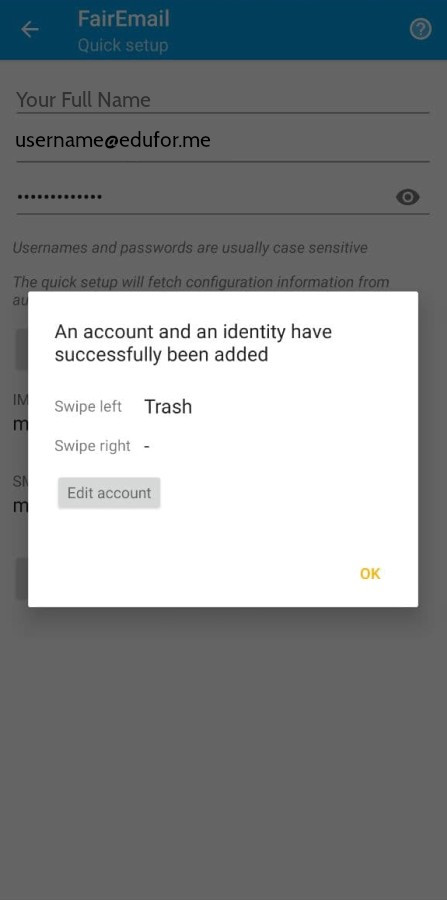
- You are now ready to use your email account!
Nextcloud Sync Client
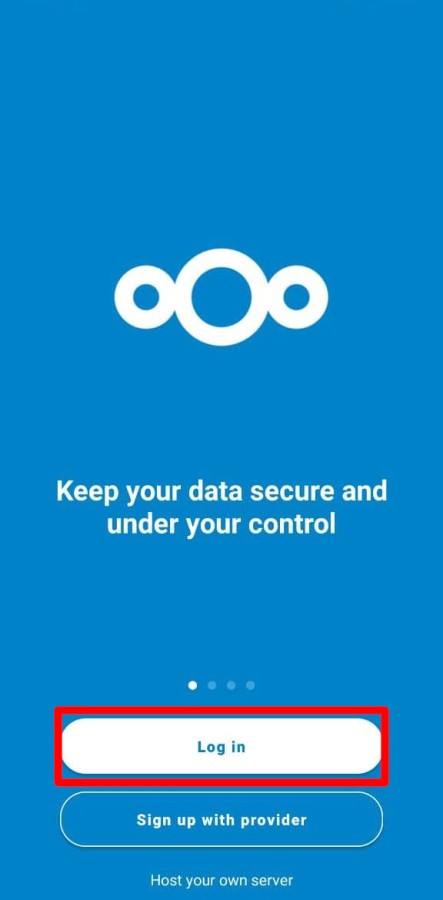
- Open the Nextcloud app. You will see the welcome screen. Select the choice to Login.
- Enter the server address in the next screen. It is
https://cloud.edufor.me. Thesinhttpsis important. 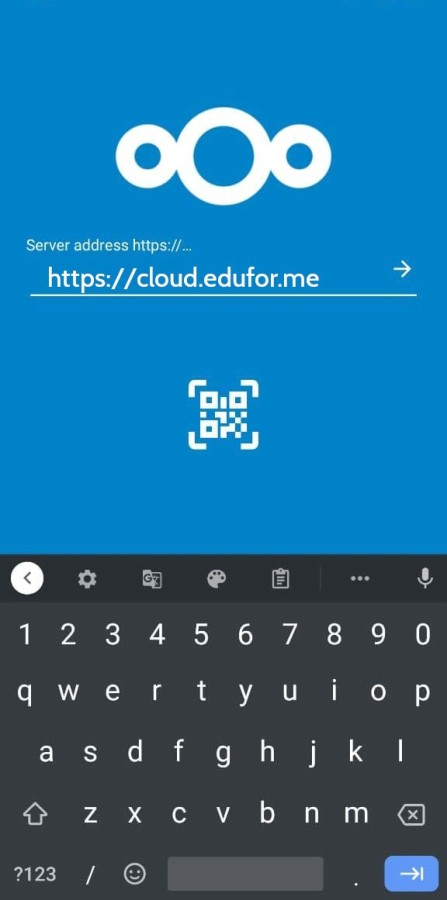
- Enter the server address in the next screen. It is
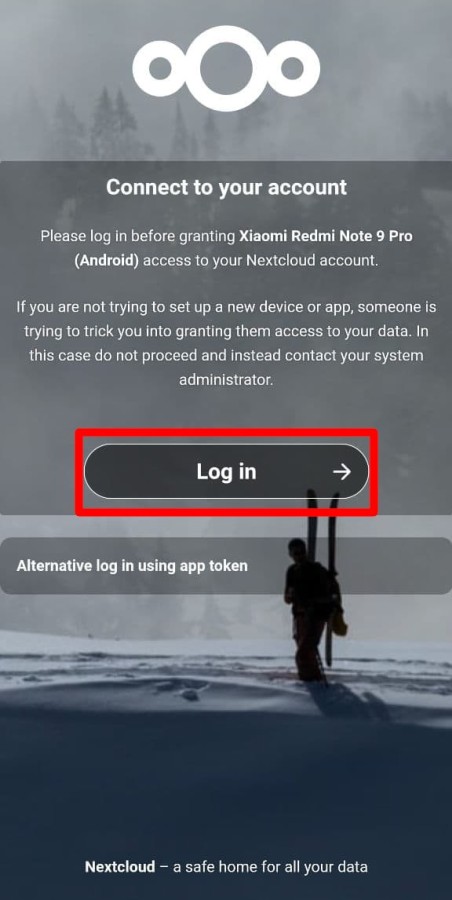
- Click Log In on the next screen. You will be redirected to a browser window where you will have to enter your username and password. (Remember, your nextcloud password may be different from your email password!)
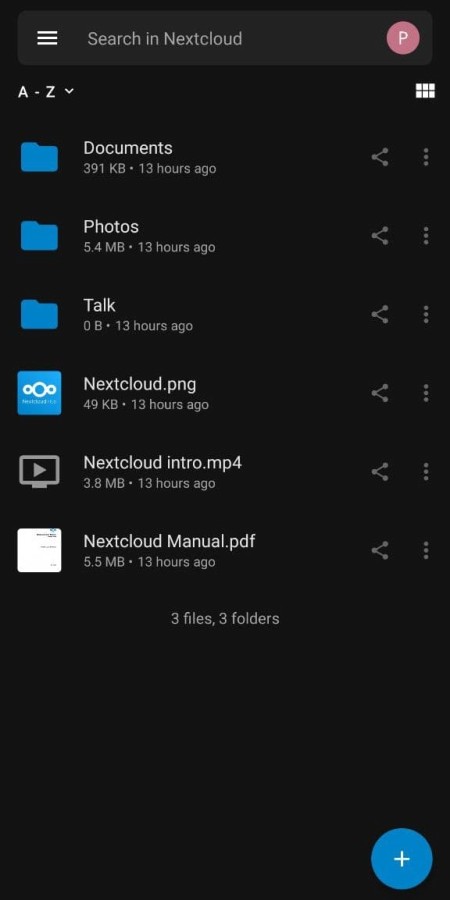
- You will then be able to see and manage your files in the Nextcloud app!
CardDAV
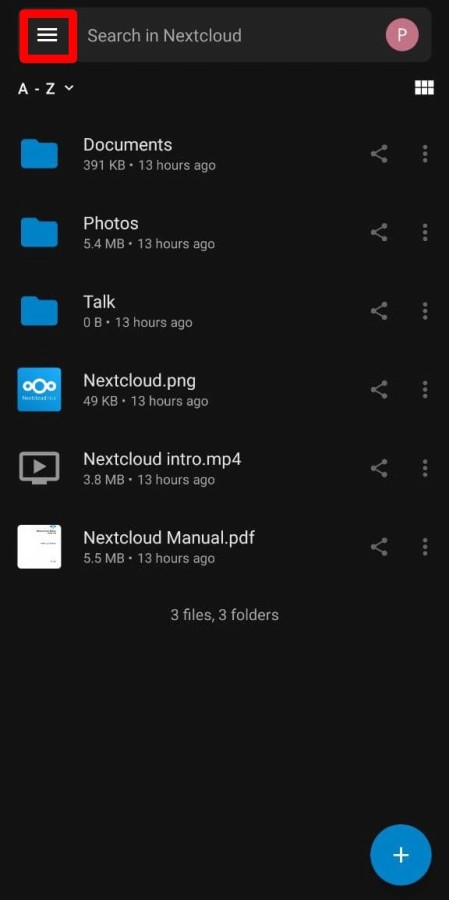
- Open the nextcloud app, hit the burger menu, and navigate to settings.
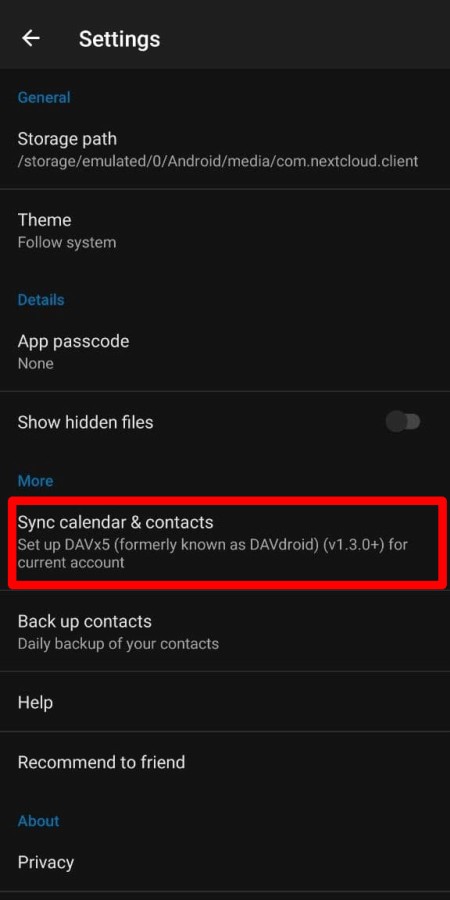
- Select the option to syncronise contacts and calendars. (Note: Avoid selecting the option to backup up contacts. We won’t need it after setting up DAVx5.)
- On the resulting add account screen, select
Groups as per-contact categories. Then hit create account. 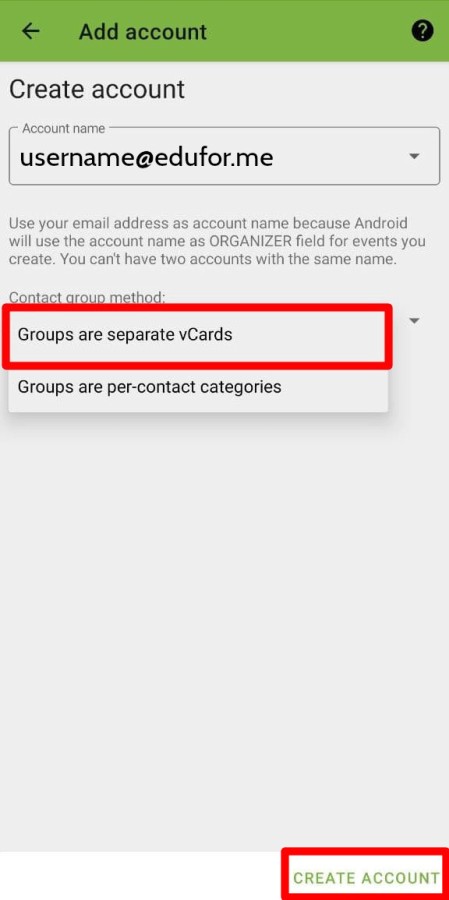
- On the resulting add account screen, select
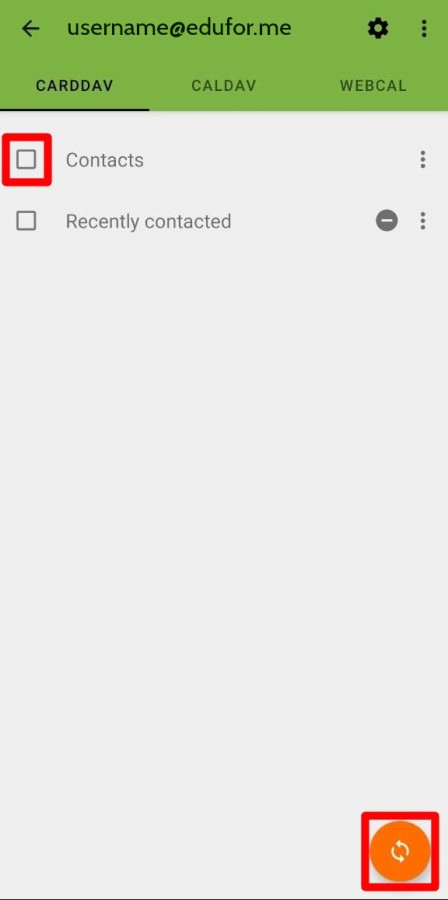
- On the resulting screen, check Contacts, then hit the sync button.
CalDAV
This section is only valid once you have a calendar setup in your account.